
Collection: Preformed Ponds


-
Blagdon - Liberty Solar No Dig Nature Pool
SpecialRegular price £199.95Regular price
Free Next Working Day Delivery
(2 pm cut off) Laguna - Heavy Duty Free Standing Preformed Pond (PT796)
SpecialRegular price £399.99Regular priceOut of Stock –
Click for DetailsSold out Sold out
Simply Pond - Jay Preformed Pond
SpecialRegular price £149.99Regular priceOut of Stock –
Click for DetailsSold outSimply Pond - Partridge Preformed Pond
SpecialRegular price £129.98Regular priceOut of Stock –
Click for DetailsSold outSimply Pond - Wren Preformed Pond
SpecialRegular price £129.98Regular priceSimply Pond - Kestrel Preformed Pond
SpecialRegular price £219.98Regular price Sold out
Simply Pond - Dove Preformed Pond
SpecialRegular price £159.98Regular priceOut of Stock –
Click for DetailsSold out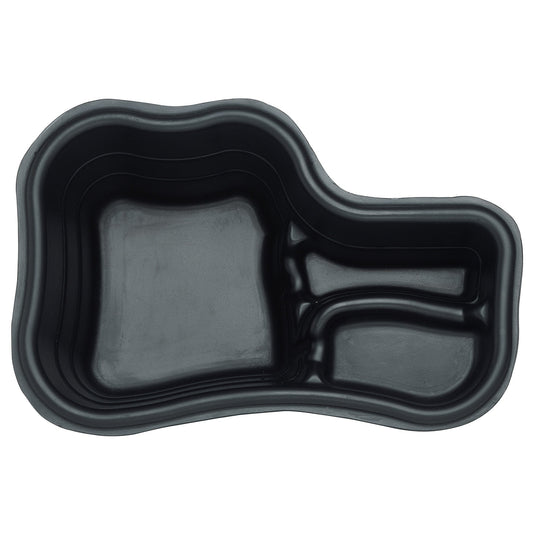 Special
Oase PE 150 - Preformed Pond
SpecialRegular price £82.99Regular price£84.99Sale price £82.99SpecialOase PE 250 - Preformed Pond
SpecialRegular price £139.99Regular priceOase PE 500 - Preformed Pond
SpecialRegular price £189.99Regular priceOase PE 750 - Preformed Pond
SpecialRegular price £309.98Regular priceOase PE 1000 - Preformed Pond
SpecialRegular price £364.98Regular priceHeissner 200 - Square Preformed Pond
SpecialRegular price £144.99Regular priceHeissner 900 - Square Preformed Pond
SpecialRegular price £379.98Regular price


Preformed Ponds
All our Preformed Ponds include FREE delivery* (*Uk Mainland Only excluding Scottish Highlands)
Super strong, super tough and fantastic value for money, our plastic preformed ponds are a quick solution to creating a 'crease free' pond.
The style and shape of your preformed pond totally depends on you, as well as the character of your home and garden. How big the garden area is you want to adapt will affect how big the preformed pond is you decide to use. Don’t worry though, we have lots of experience and are here to help, so feel free to give us a call, and we can help you to make an informed decision.
Water Gardening Direct offers a diverse range of preformed ponds, many with a choice of capacity and size. Preformed ponds are designed to make things easy for you, without the trouble of designing and creating a shaped pond. Once your hole is dug and a layer of sand has been added, your preformed pond can be installed, filled and backfilled. Some feel that preformed ponds can be the ultimate choice for those of you looking for a trouble free process.
Preformed Pond Installation.
Please note that ALL of our pre-formed ponds must be fully supported and can't be used as FREESTANDING ponds (see our More Info tab below). However, provided they receive enough support (using a strong support framework), they can be used above ground.
Easy step-by-step Preformed Pond installation guide

1. Location
The ideal pond location is away from deciduous trees and conifers and has ap- proximately 4 - 6 hours of sunlight daily.

2. Tools
For installation you require: Spade, shovel, filler sand, level, yardstick, and a garden hose with water connection.

3. Marking
First, position the preformed pond in the desired location, then mark the contours with sand.

4. Deep zones
The different deep zones are also marked with sand incrementally.

5. Excavation
Generously dig out the specific zones of the garden pond.

6. First test
Then insert the preformed pond to see how it fits.

7. Fill-in
Adjust the different excavated levels with filler sand to compensate unevenness.

8. Levelling
The floor and the pool are levelled out in length and width.

9. Backfilling
Once levelled, the pond should be filled to around 150mm with water, and then all around the perimeter wet sand should be used to backfill to the same level as the water, ensuring the sand fills all cavities. This should then be repeated until the pond is fully supported

10. Filling and compensating
In the final step, the area around the pre- formed pond is adapted to the preformed pond with sand, soil, gravel, etc.

11. Edge area décor
Now you can start planting and designing the pond. Ensure that you completely fill the perimeter bank zone with gravel.

That’s it!
Ask a question
If you need to ask a question about Preformed Ponds you can do so here.